To start with, choose the desired plan and Sign up to create your account
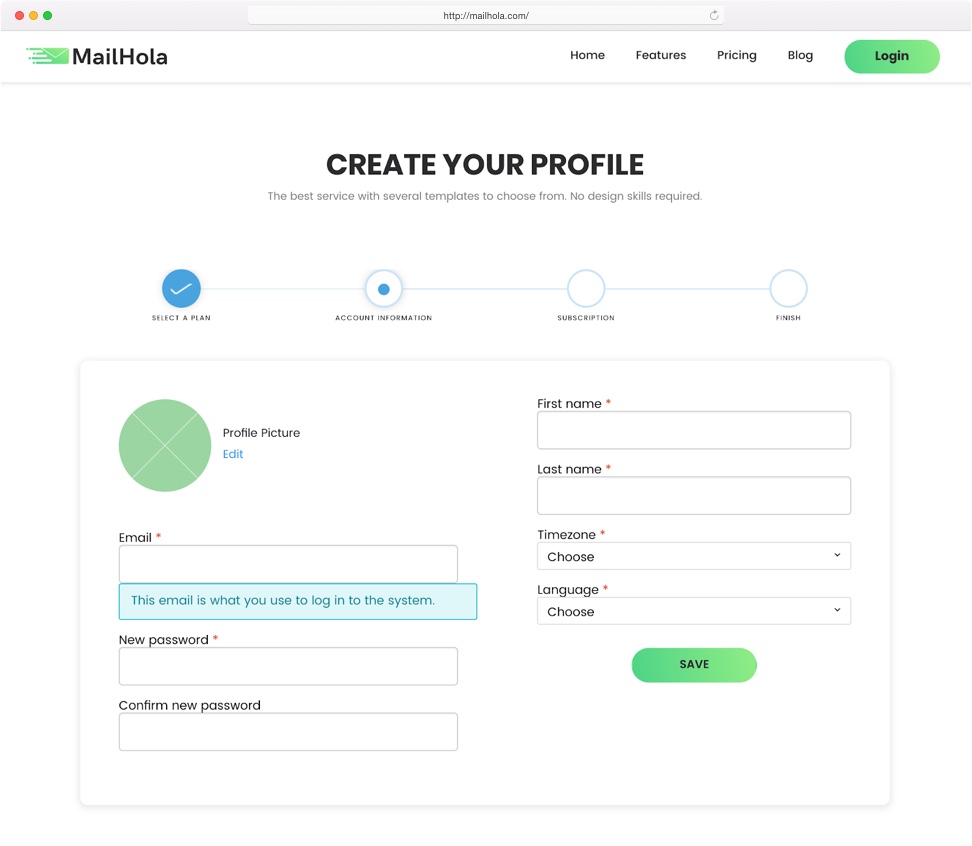
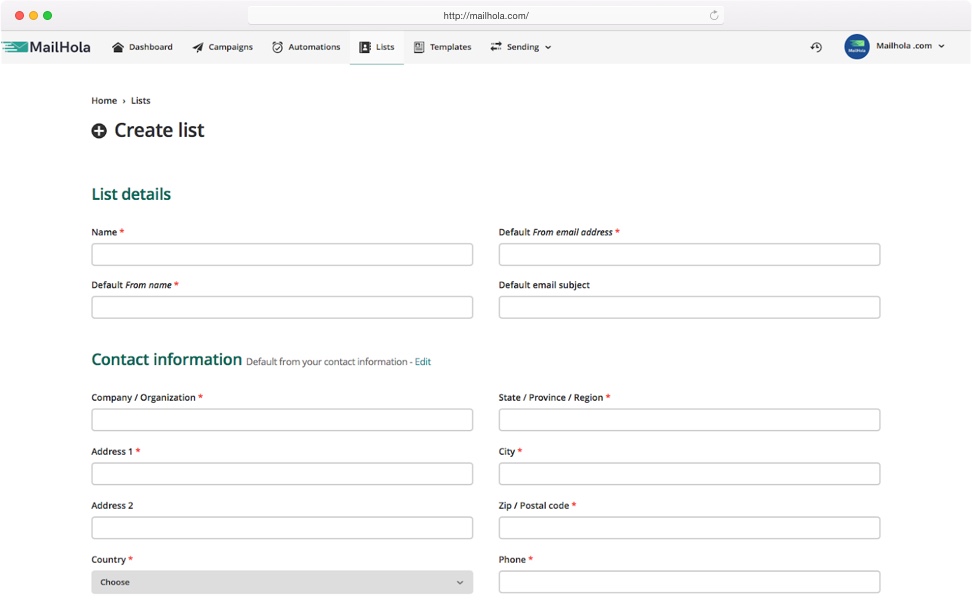
Once signed up, and before proceeding further, you’ll be required to complete your business profile. This is required as a part of ensuring you are officially all set to start setting up your first campaign. First, you’ll need to create a mailing list. A mailing list is a kind of database that holds all of your subscribers detail. The most important field is email, while you can add as many custom fields as you’d like. The first step to create the list is as below.
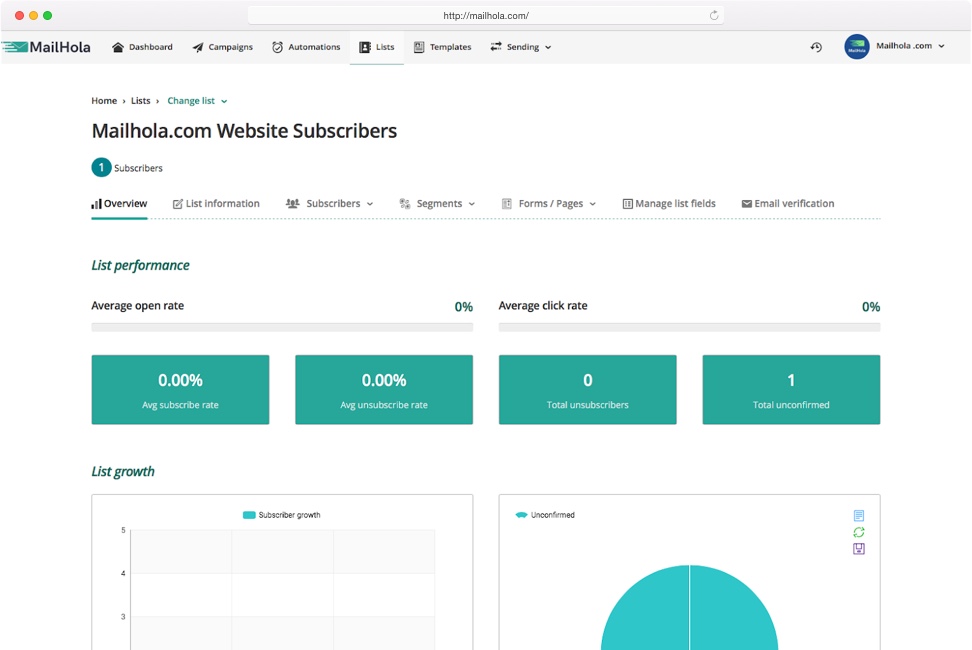
Once you’ve created the list, you can go inside and do a lot many things. E.g. Set up confirmation emails that goes out to subscribers when they sign up, add custom fields, and see overall list activity dashboard.
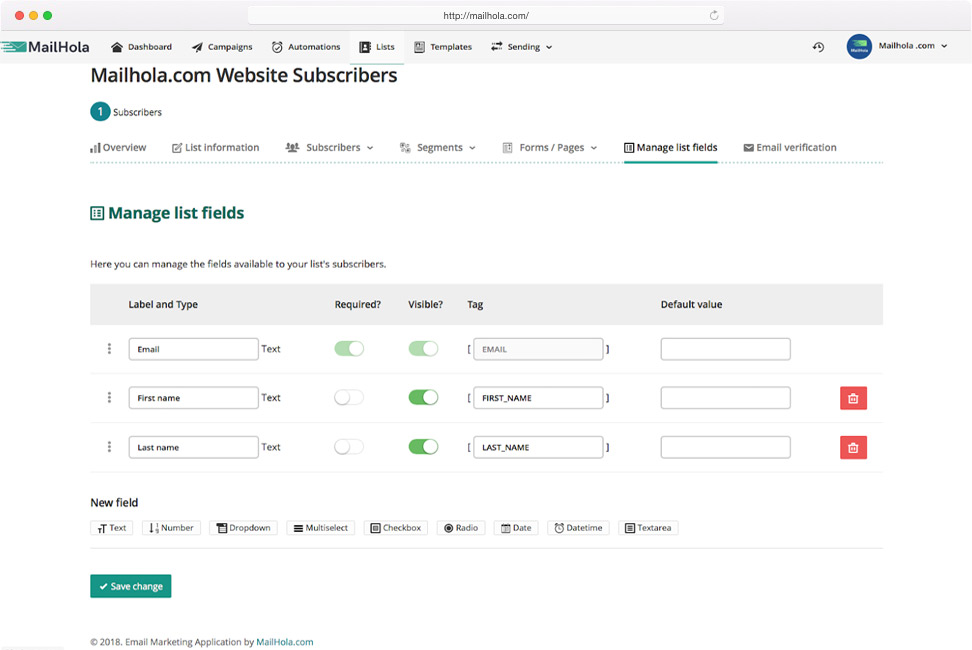
Now that you’ve your list ready, you might want to add some custom fields so that you can store maximum information about subscribers – e.g. date of last purchase, location, gender, age group etc. The custom fields are very handy and you could use them really smartly to personalize email (e.g. instead of Hello There – put Hello John”) and also create segments that help you target only a few subscribers that matches specific criteria.
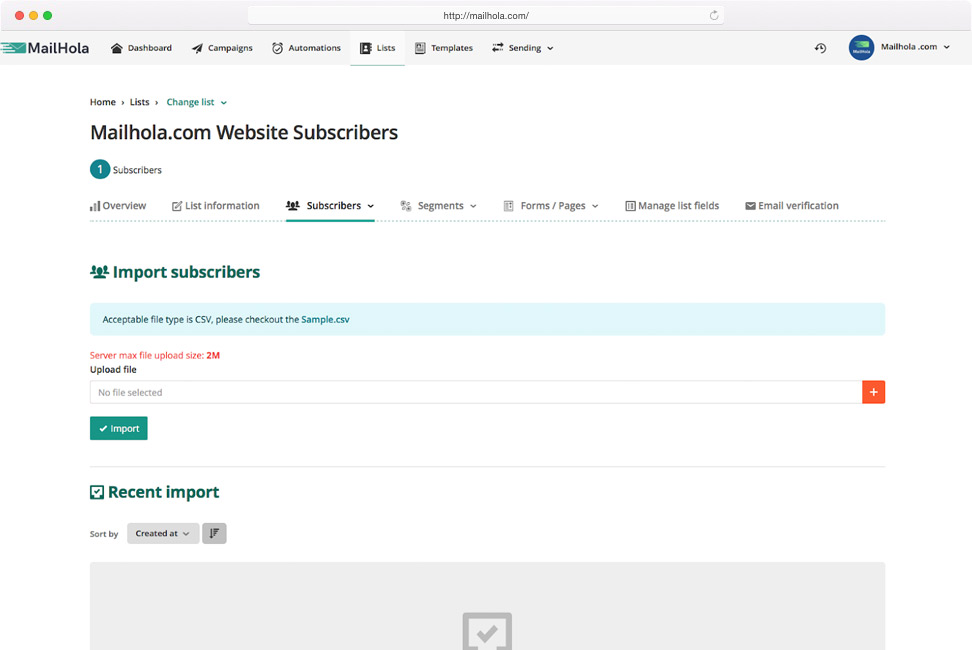
Once the list is all set – you can import all of your existing customers, users or contacts to the list. You can do so by importing a CSV (Comma Separated File – which you can create in excel). Oh yes – you can of course import information including custom fields that you just created. Download the sample file to see how your file should be structured.
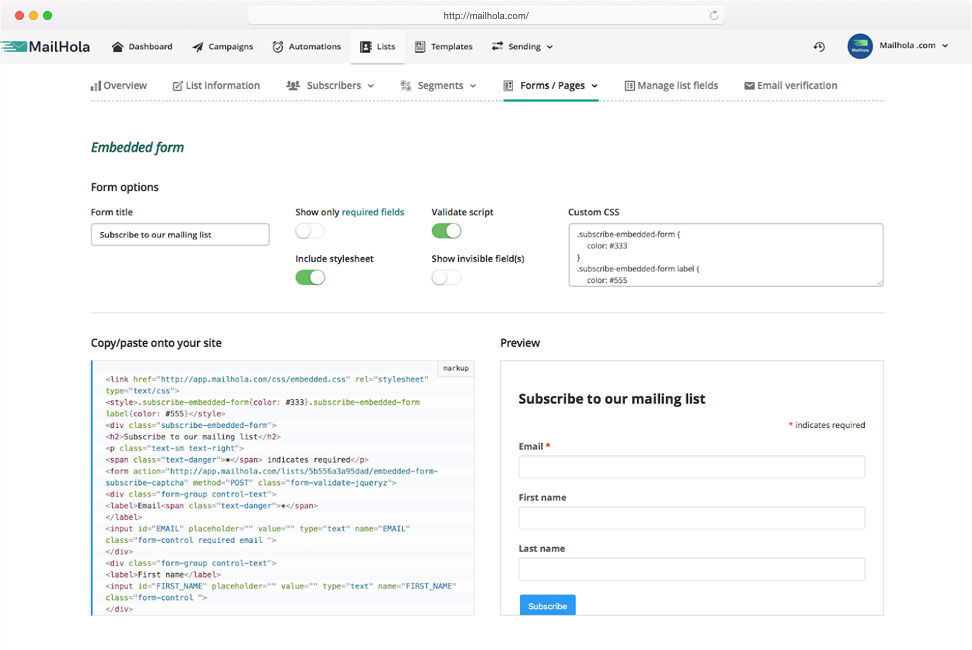
Once the list is ready – to be able to allow subscribers to subscribe to this list, you can download the embed code to put up on your website or app. This is a simple HTML code that you can either integrate yourself or ask your developer to do the same.
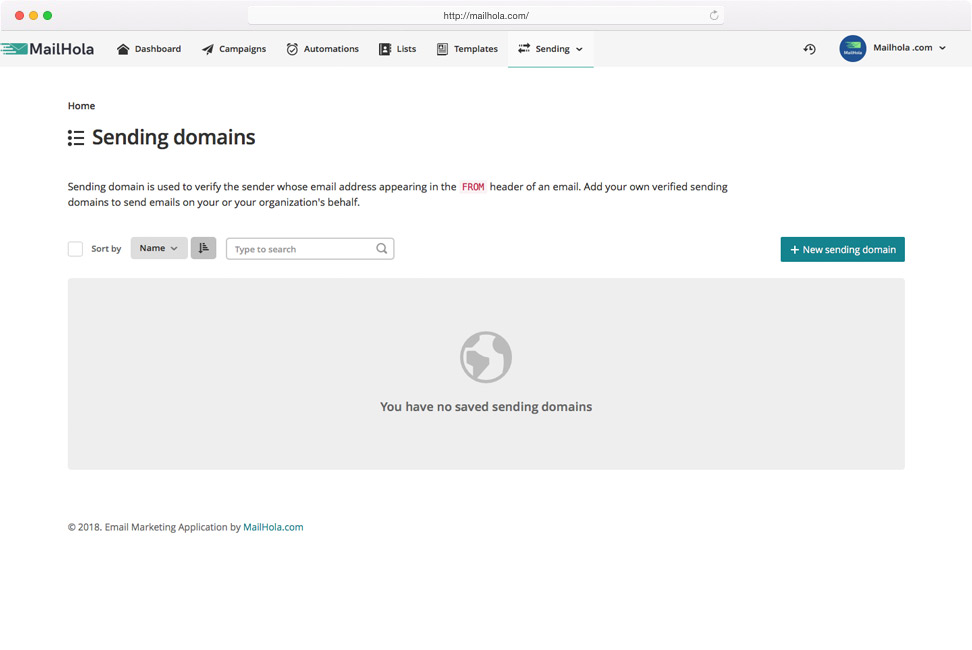
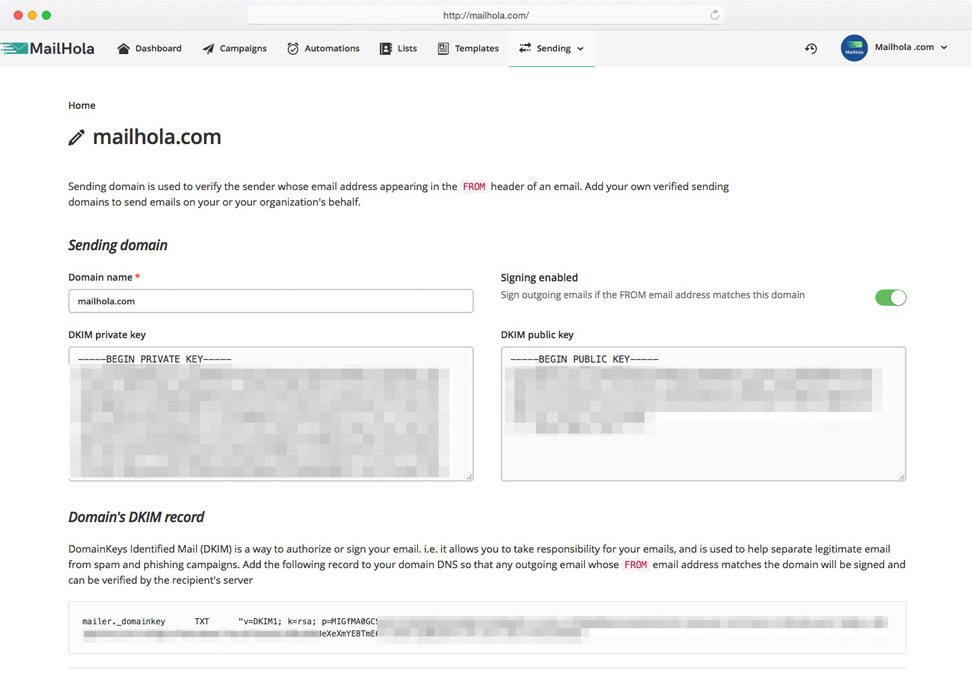
Sending domain is used to verify the sender whose email address appearing in the FROM header of an email. Add your own verified sending domains to send emails on your or your organization’s behalf.
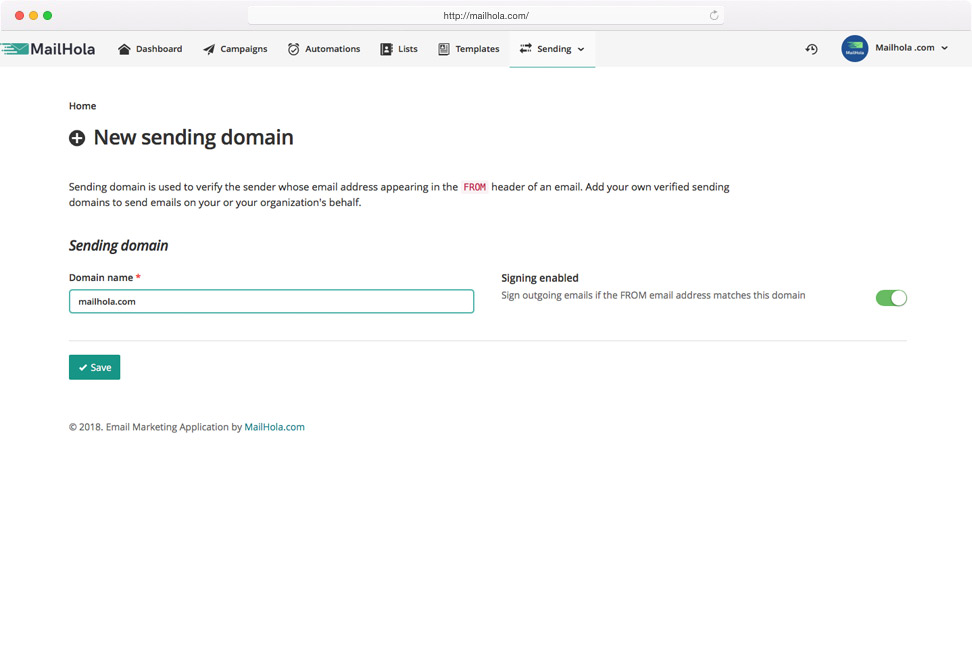

Need to update your DNS records to set up DKIM key as TXT record. Save the content of the DKIM section text and give to the company / person who manages your domain and ask them to add a record as seen on this page. They will know what this means 🙂
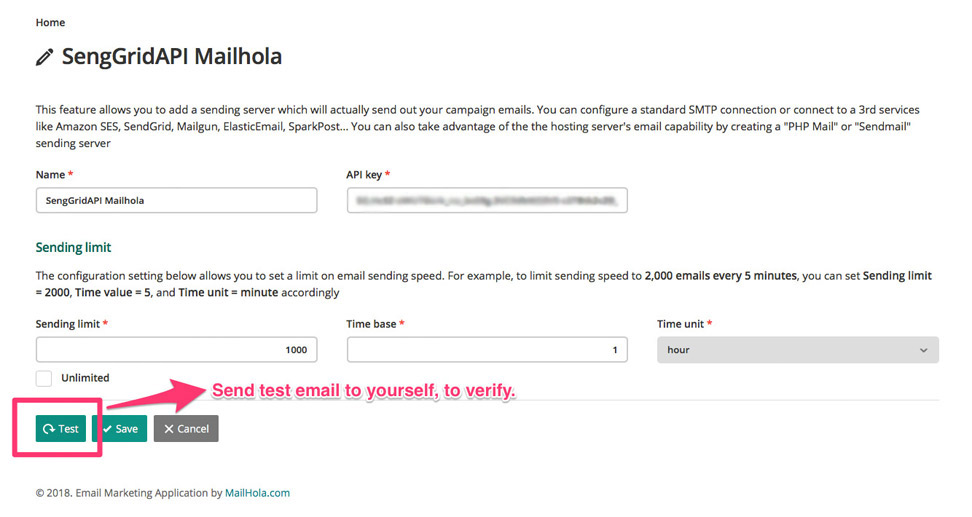
Before you start creating an email campaign, Mailhola requires which server / service to use for sending emails. You can check with your hosting provider or you can sign up with popular services which generally have a reasonable limit under free tier to start sending a few thousand emails per month. Check any of the following (please note that we are not affiliated in any which way with any of these services – it is just a suggestion. Use your own analysis and validate the service before you sign up with them).
Pepipost | Mailjet | Mailgun | Mailget Bolt | SendPulse | Amazon SES | PostMark

Mailhola provides many out of the box integrations – where you just have to add a API Keys, password or SMTP details as you received from the respective service providers. To set up a new server, click on NEW Server to complete the set up. Oh yes, you can also check if everything is working fine or not – by sending a test email while adding the new server.
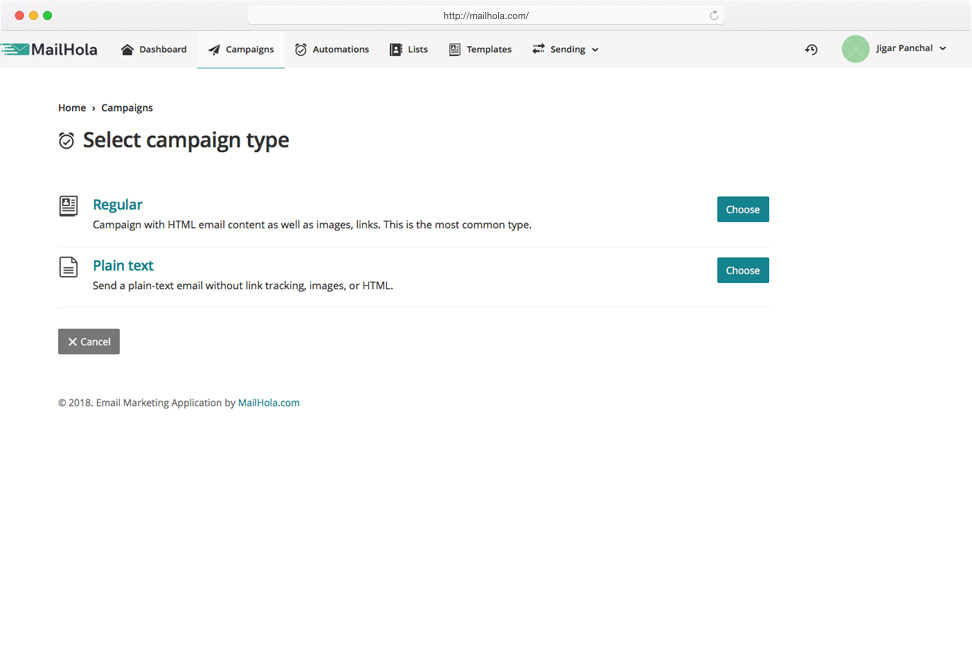
You’re now all set to start creating your campaign – Go to Campaigns tab and create new. You can either create a campaign to send regular HTML email or just plain text based email without link tracking, images or HTML of any kind.
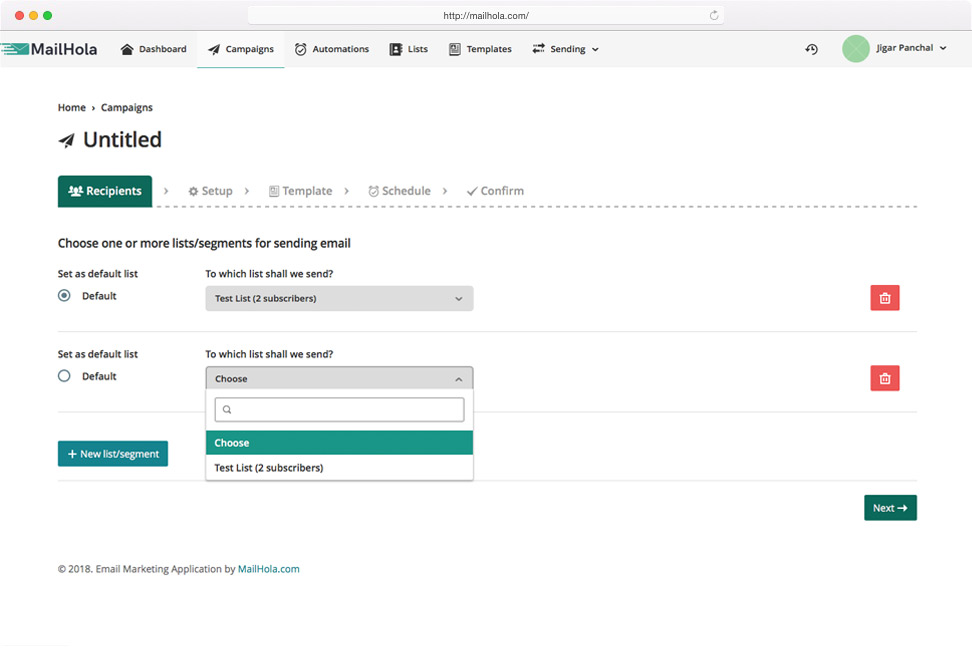
Next up, select whom would you like to send this campaign to – e.g. The list you want to chose. You can also create / choose a segment to send email to specific people who meet certain criteria (remember custom fields?)
Mention the details about how does your email would appear in the recipient’s inbox – e.g. From name, email address, reply to email etc. Note that the FROM email address must be the email address that ends with the sending domain you previously set up.

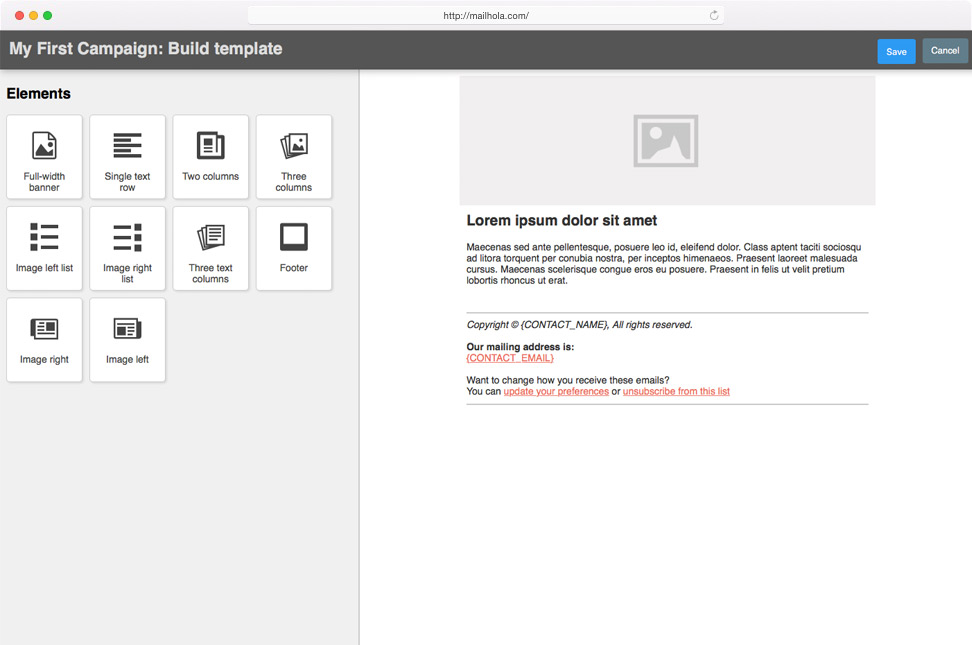
Time to activate your designer mind. Here in this step – you can choose appearance of your email. Either you can choose default bare bone templates, or pick from the Mailhola’s growing template library. Or you could upload your own custom branded html templates and use them.

After selecting the template – customize your email content with the drag and drop email builder. Here, you can add your own custom code, styling and images.
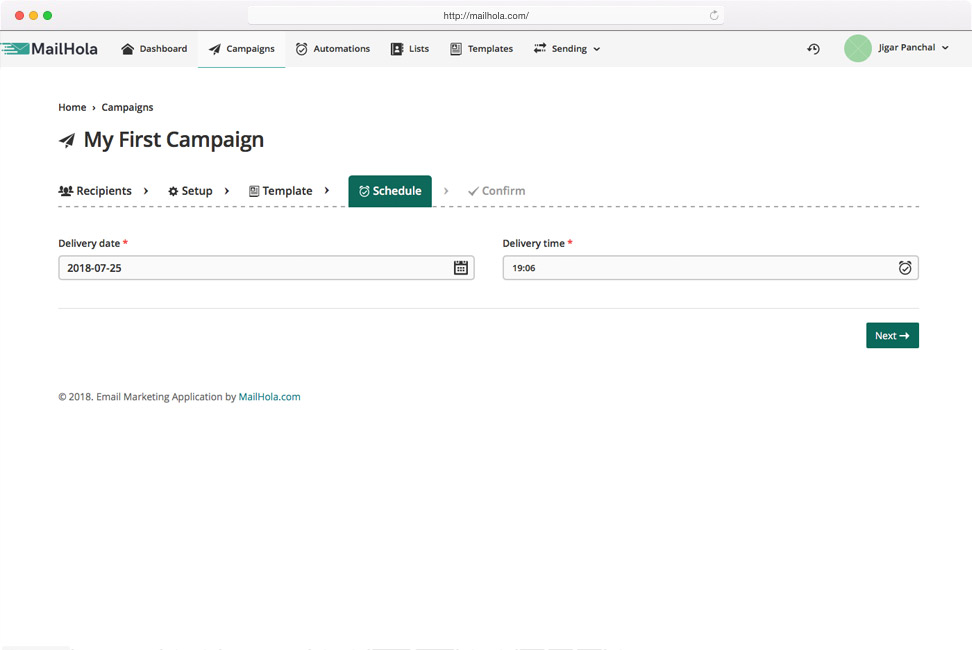
Schedule the campaign time that matches best with your needs – or you can send it immediately.
Final step – check to see everything is good to go, and hit SEND to shoot the campaign. Voila! You’ve made it through your entire set up and first campaign. Now, sit back and wait for a few hours till the subscribers start opening your emails and you’ll start seeing reports against specific campaign in the Campaigns tab.
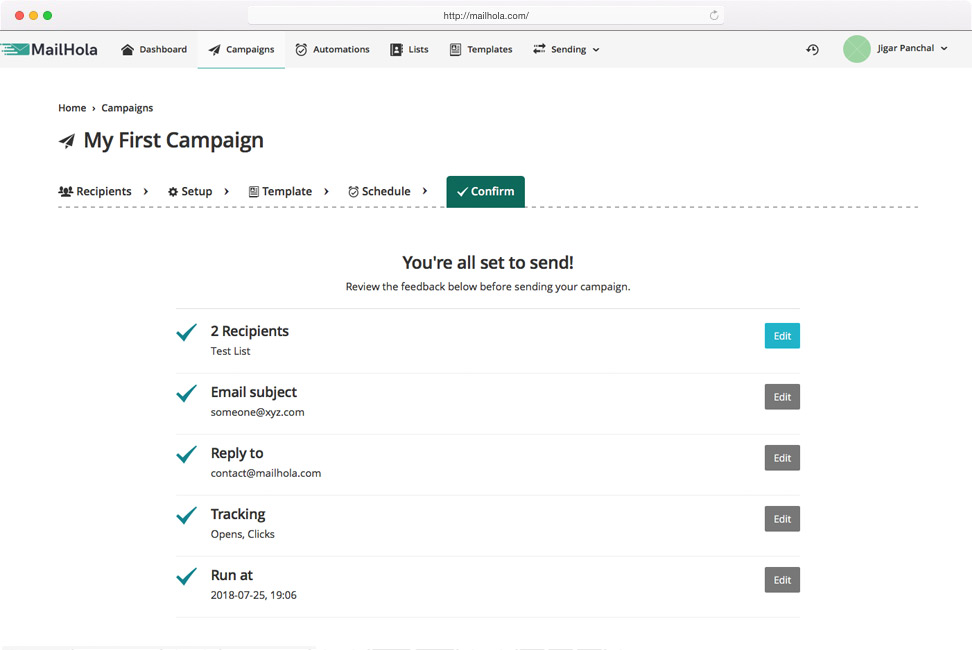
You’re first campaign is ready and almost sent!
If you need any further help, write to us as contact@mailhola.com.